By Yarn and Needlework Contributor Stephanie from the blog Twilight Kallisti

Tired of having a drawer full of plastic grocery bags? This cloth grocery bag tutorial can be your new answer to the “paper or plastic” question and will also make a great gift for a practical friend.
Craft:
Sewing
Difficulty Level
Intermediate
Materials
- Upholstery Fabric Sewing Needle
- Upholstery Fabric or thicker fabric for outside of bag
- Thinner fabric for the liner
- Thread
Directions
For these bags I like to use thicker fabric, often upholstery, for the outside and thin fabric for the liner. When sewing upholstery fabric make sure you use a heavy needle on your machine. Mine turn out quite strong and easily hold heavy items.
Thrift stores are an excellent source for upholstery fabric samples. Try looking in the section where they put blankets and large scraps of fabric; I’ve had the best luck there.
The body of the shell and liner are both 18″x36″. The bottom piece is 6″x13″ each.
The shell and liner are made separately. Attach the ends of the large rectangle to form a tube and sew ends together. Sew one end of the tube to the bottom piece.

Make two handles that are 6″x15″. Sew long-wise inside out then pull them right side out.

The handles will be in this shape when you sew them to the bag.

Pin shell and liner together. The liner is on the outside and shell is on the inside with right sides touching. They are sewn inside out for an invisible seam and to minimize folds. The handles are sewn in at the same time.
Note: At this point it is easy to make a mistake with the handles. I put them in wrong while making this bag. On the up side I have a picture of my mistake to warn you! Since the bag is sewn inside out the handles are tucked between the right sides of the shell and liner. Here’s how I messed up:

Here’s the correct way:

I sewed two rows of straight stitch to join the shell and liner. Leave a gap of 6” to turn bag right side out. The extra row helps to secure the handles in place. The above photo shows my fingers in the non-sewn section that I use to turn the bag right side out. After righting the bag hand sew the hole closed.
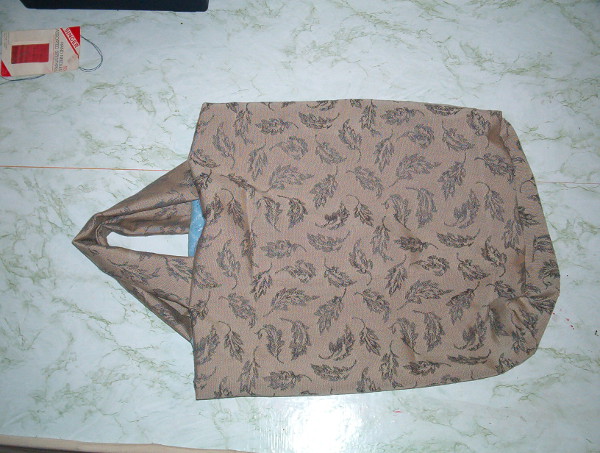
The finished bag:

A patchwork version out of upholstery samples. For the this bag I made the body patches 6 1/2” x 9 1/2” and the bottom piece 6 1/2” x 13 1/2”.

Count yourself lucky if you manage to score some upholstery fabric samples. These make the most unique bags!
I used a thrifted pillowcase for the liner.

Now that you finished take yourself to the grocery store and feel the joy of having reusable bags.
![]()