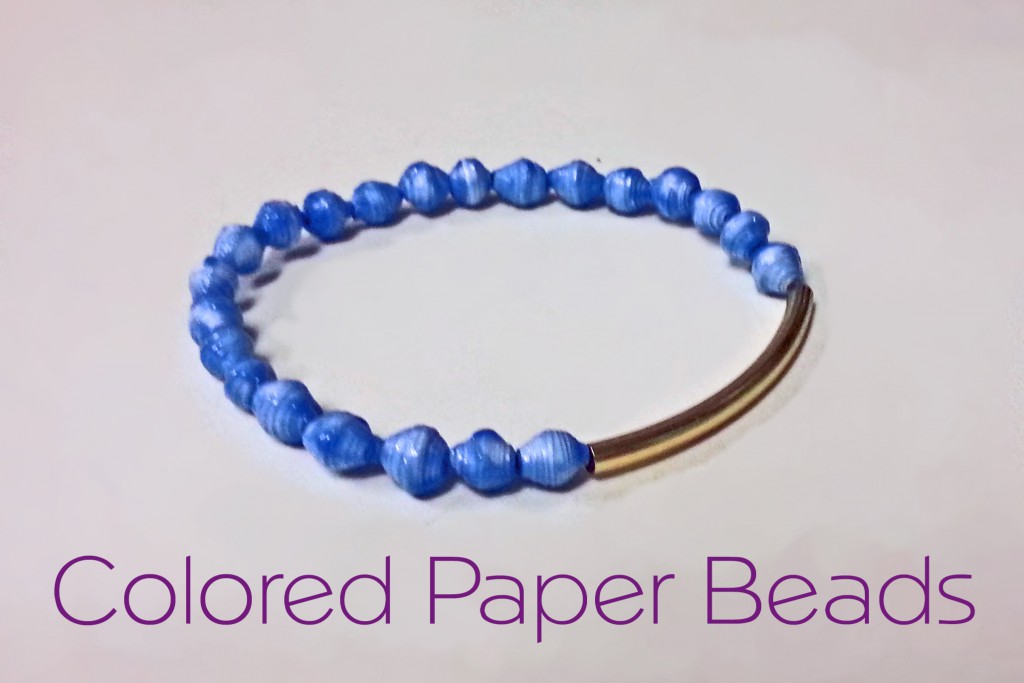

This year for Christmas I received a very beautiful bracelet from my best friend. Upon closer inspection the pretty turquoise beads weren’t actually stone beads but paper beads instead. I remember making paper beads with old magazines and junk mail when I was younger, and loved it, so I set out to make them with a grown up twist.
Here’s what you’ll need:
- White Paper
- Glue Stick
- Mod Podge
- Acrylic Paint
- Wax Paper
- Scissors
- Tooth Pick or small, thin dowel
- Ruler
Directions:

Along one side of your paper, measure and mark every 1/4 inch. Then on the opposite side, make a mark 1/8 inch in from the edge and then continue to mark out every 1/4 inch.

Using your ruler to draw a line from the 1/4 inch mark on the first side to the 1/8 inch mark on the opposite side. Then from the same mark to the next 1/4 inch mark on the other side to make a long, thin triangle. Continue across the page. Then carefully cut along the lines, creating the triangles. Discard the two end pieces, since they aren’t the right type of triangle.


Taking one triangle, roll the paper tightly around the toothpick making sure the paper stays centered on the bead that you are forming. When you have about 3 inches of paper left, add some glue to the tail of the triangle. Then, finish rolling and slide the finished bead off the toothpick. Continue until all your beads are done.


Next mix a drop or two of acrylic paint into some Mod Podge. Brush the Mod Podge mixture onto your beads, making sure to give them a good coating. Let dry. Be sure to let them dry completely, I let mine dry overnight.

Once dry you can start getting creative. I stung mine onto some streatchy bead cord with a bead tube to make a cute bracelet. HAVE FUN!
![]()